The difference between an easy support call and a painful one is decided long before your customer experience team ever picks up the phone. Install documentation gives you certainty about what is in place, allows audits without rolling a second truck, and provides reference material when issues inevitably arise.
At The Edge Mile, we recommend that every install—regardless of package, service type, or location—be documented with:
- A timestamp camera app for all photos.
- Screenshots where relevant from inside the customer UE web interface.
- Both the photos and screenshots captured be attached to the customer record in your CRM. (Such as VISP, UCRM, etc.)
This is more than a quick snapshot of the CPE outside. With LTE and 5G, small details can decide whether a problem is fixed remotely or requires a long drive. Capturing items like IMSI and MAC ensures that you have the data needed to troubleshoot efficiently. A standardized set of photos also holds every installer accountable, raising overall quality and cutting down future truck rolls.
Good documentation is also good business. If you ever sell or merge, complete install photos make due diligence faster and easier, helping you reach the closing table without unnecessary delays.
Below you’ll find our recommend standard photo checklist, complete with captions explaining why each photo is required.
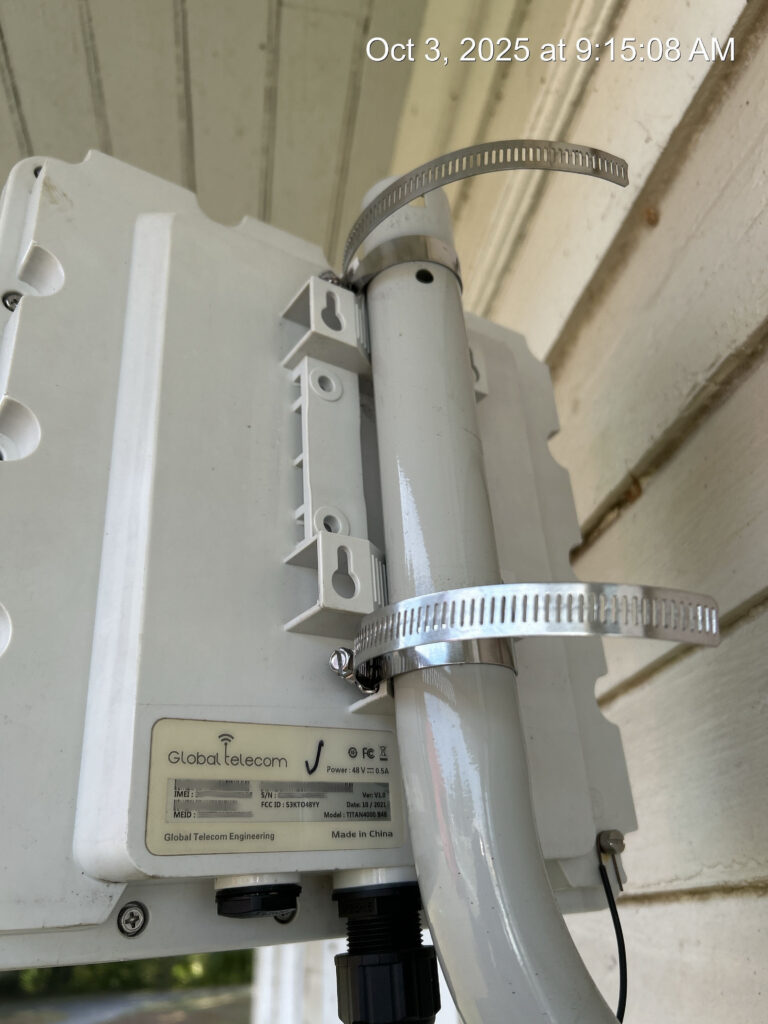
Mount Location Close Shot
This photo is used to confirm the installer used all provided hose bands and grounded the unit correctly.

Path Shot
This picture should show the RF path out of the UE. Useful later to guess why signal could have degraded. Sit camera on top of CPE and shoot off the barrel to get this photo.
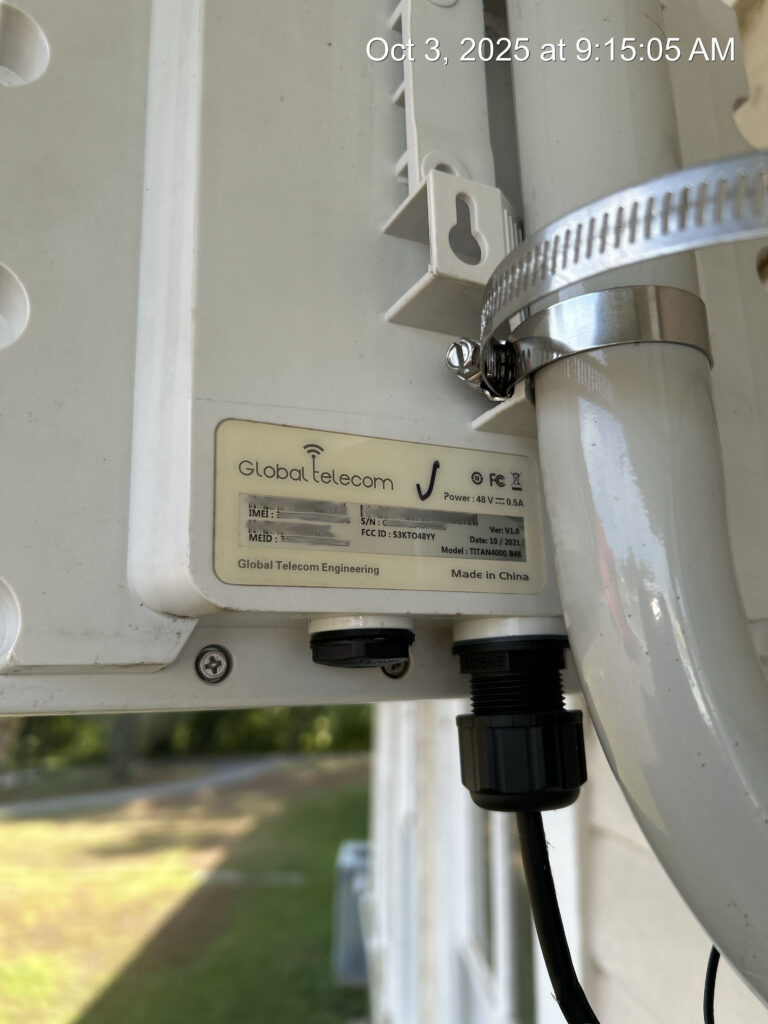
UE/CPE Identification Shot
Document the unique identifiers such as IMEI, FCC ID, and MEID of the unit. For BEC UE – it’s on the side of the unit. On non-LTE gear like the Mimosa C5X it’s inside the ethernet cover. On the LTU Pro, it’s inside of the ethernet cover. Etc.
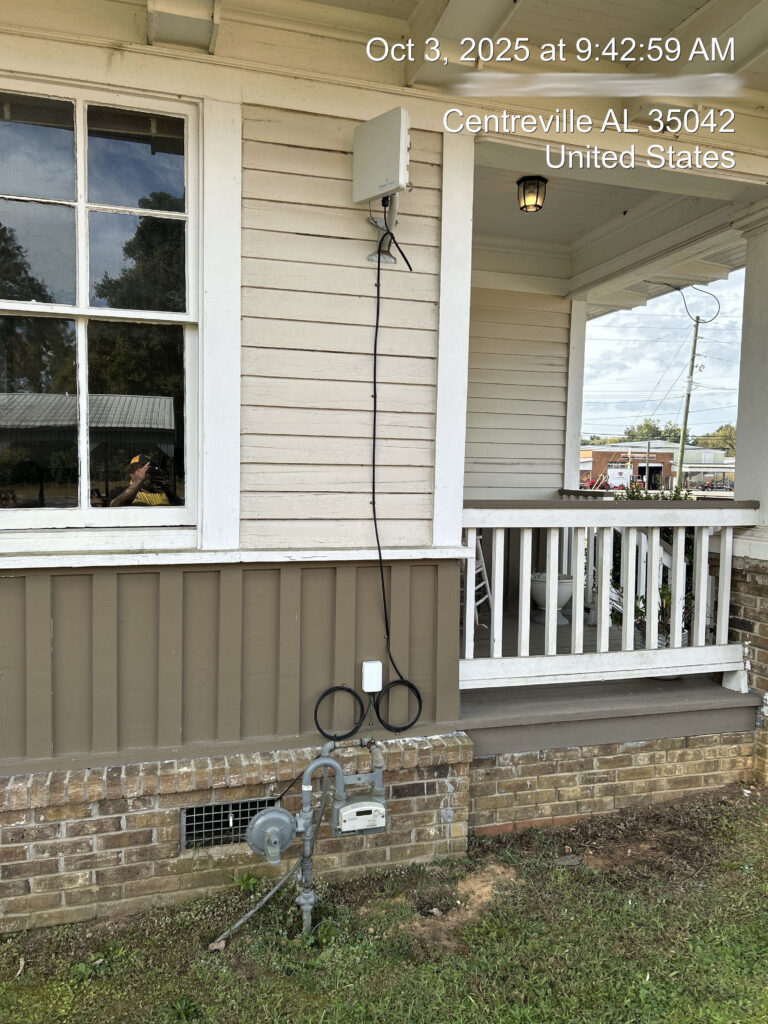
Wide Shot Of Install
Useful to know full context of UE/CPE installation. Makes it easier for the next technician to find the equipment for repair.
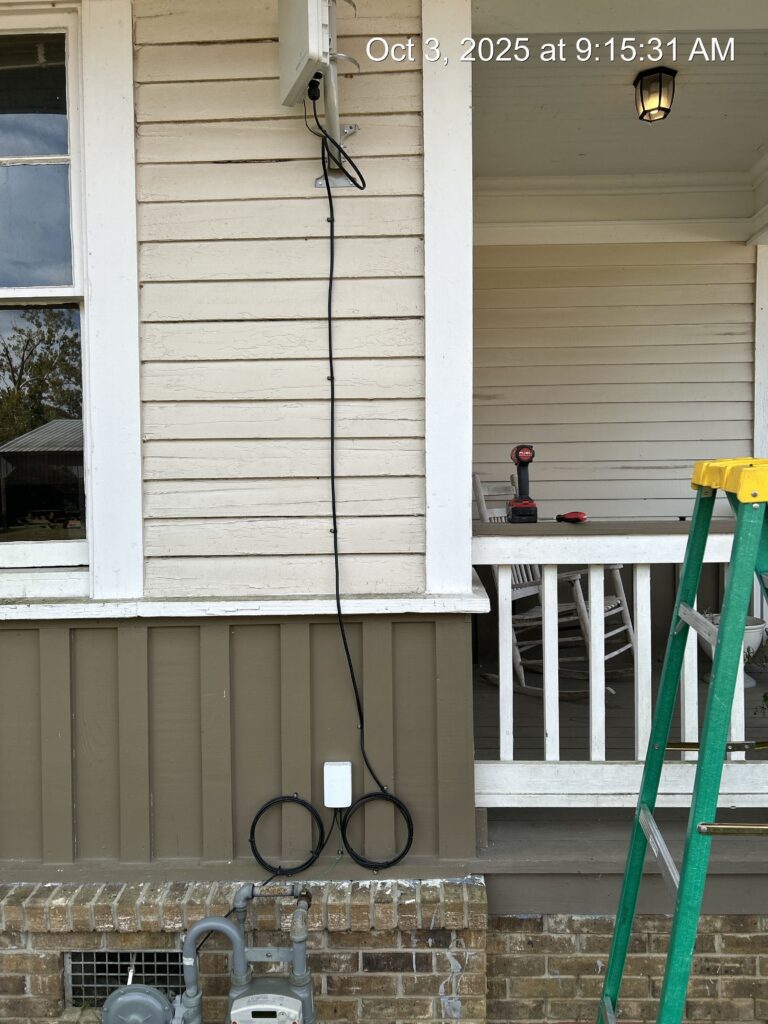
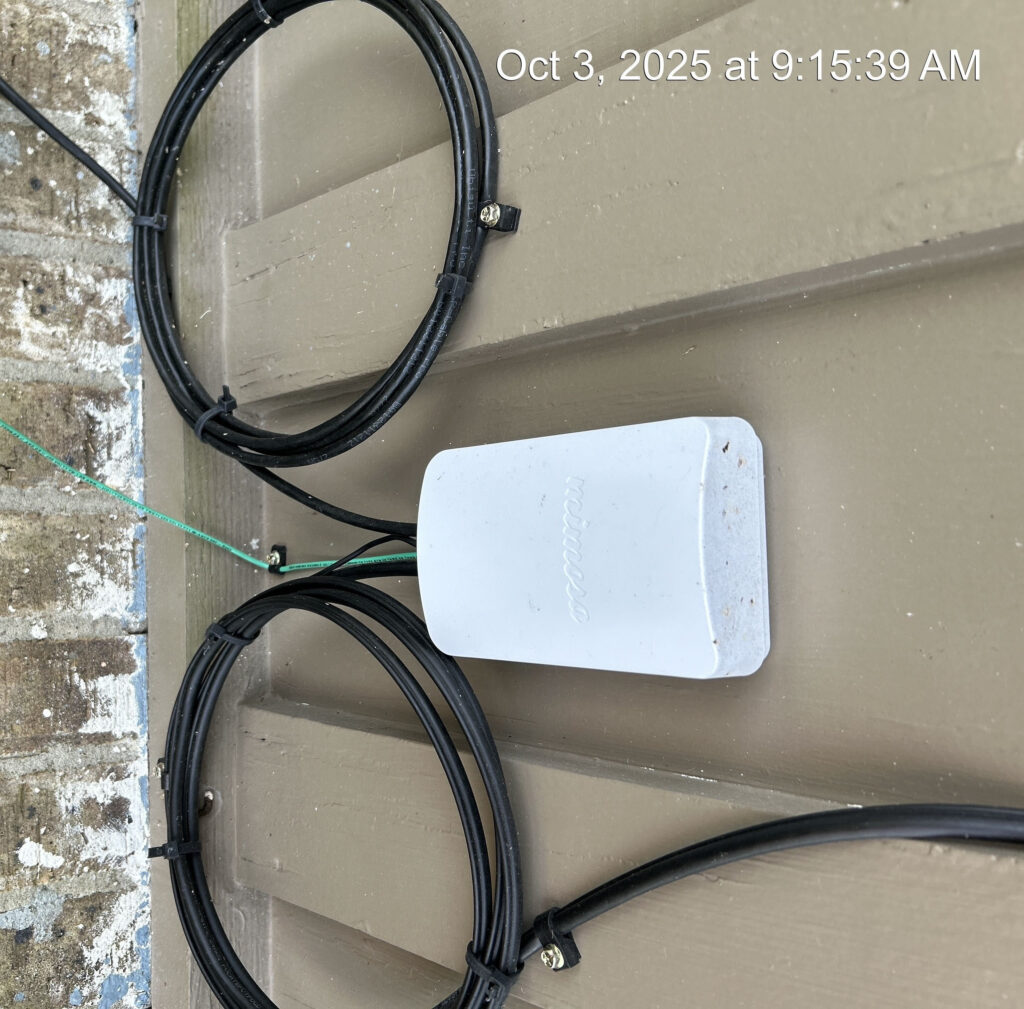
CPE->NID Cable Run Photo
Useful to ensure installer used grip clips where required and did a clean outdoor install.
NID Shot (Closed)
Ensures a NID was properly installed with drip loops and grounding connection.
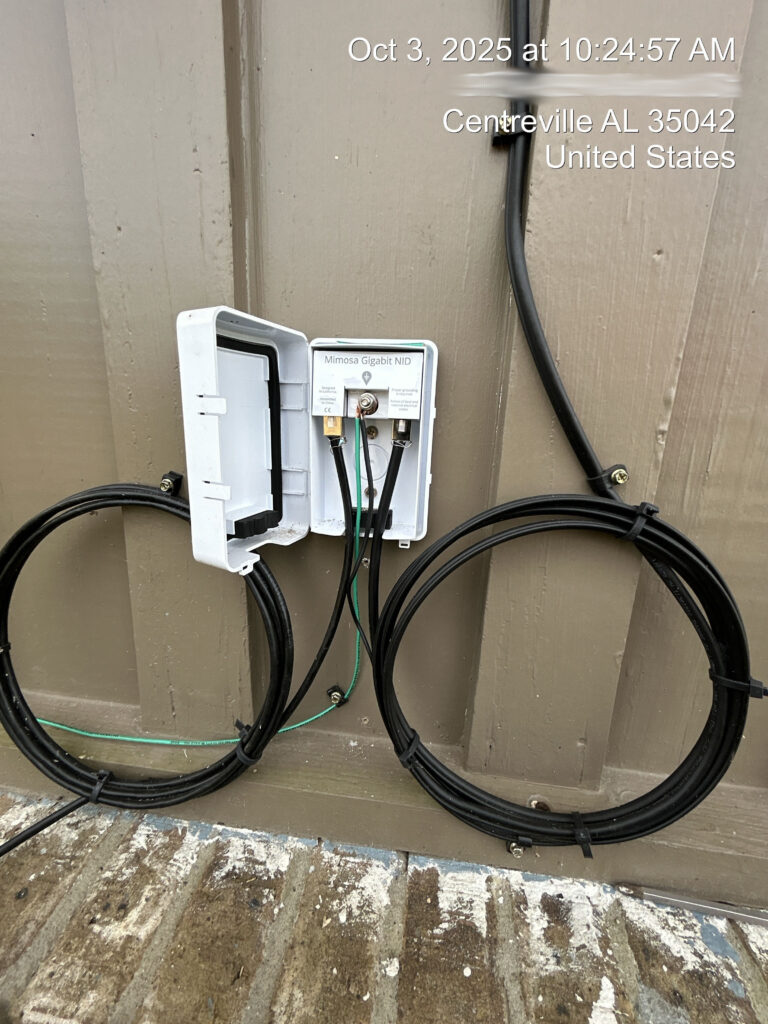
NID Shot (Opened)
Ensures terminations inside look good and ground attached correctly.
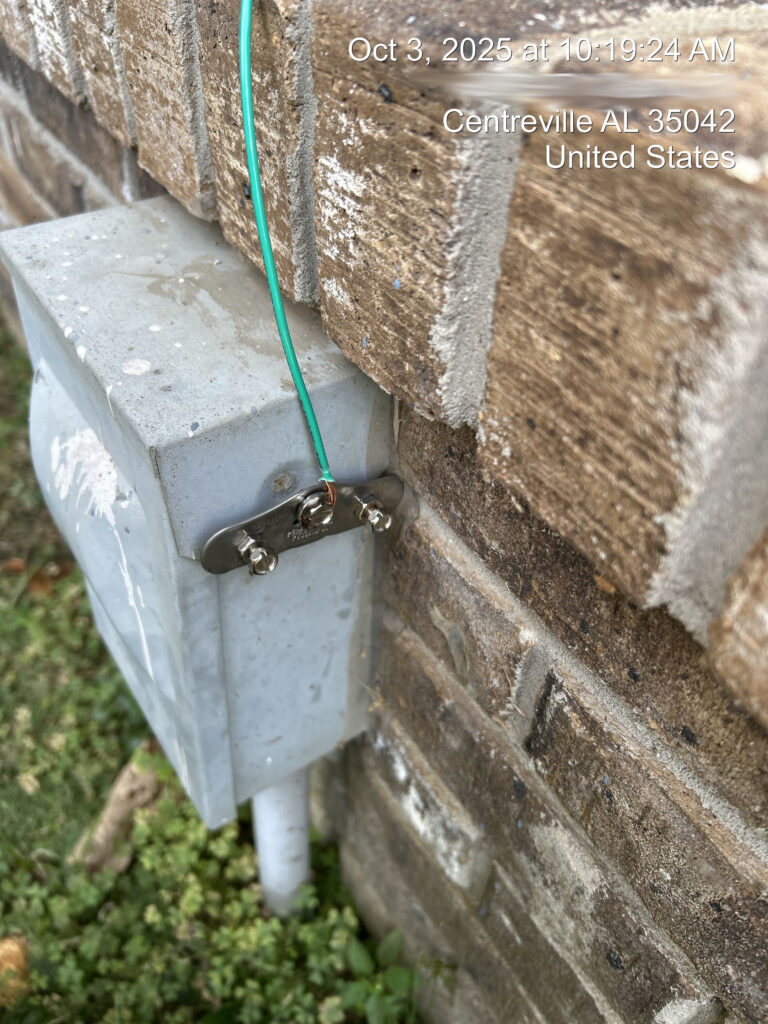
NID Grounding Shot
Verifies ground connection done properly from NID to approved grounding location.
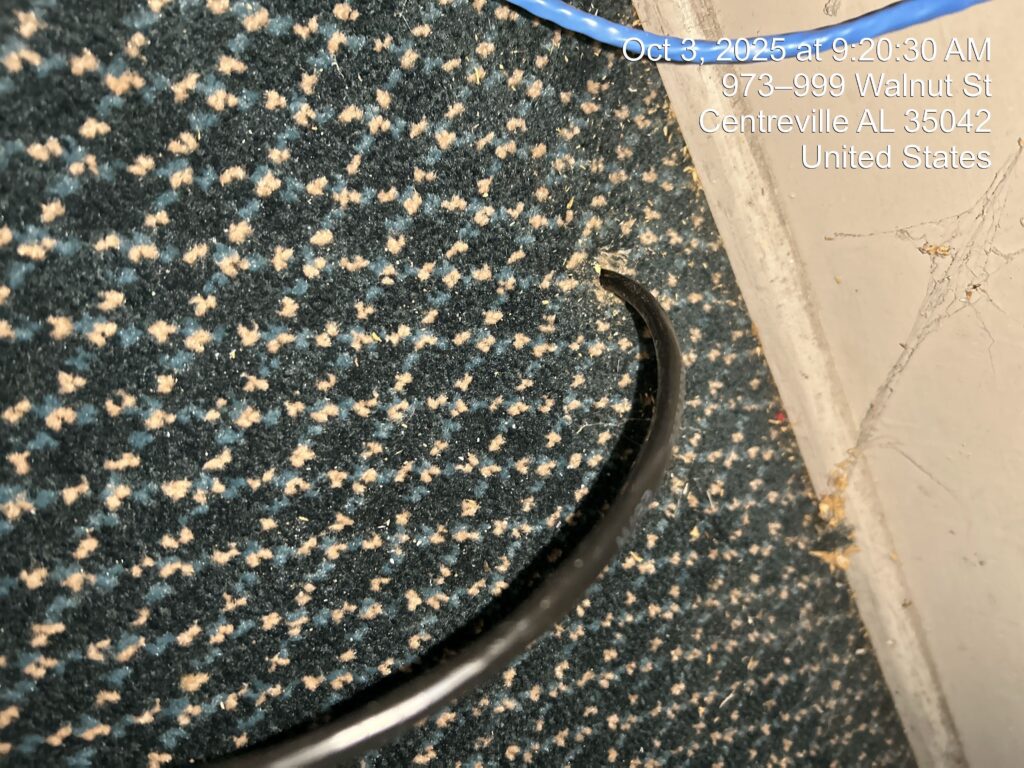
Home Entry Point
Document where wire comes into house at. If coming through wall, it allows QA team to make sure a wall plate was used.
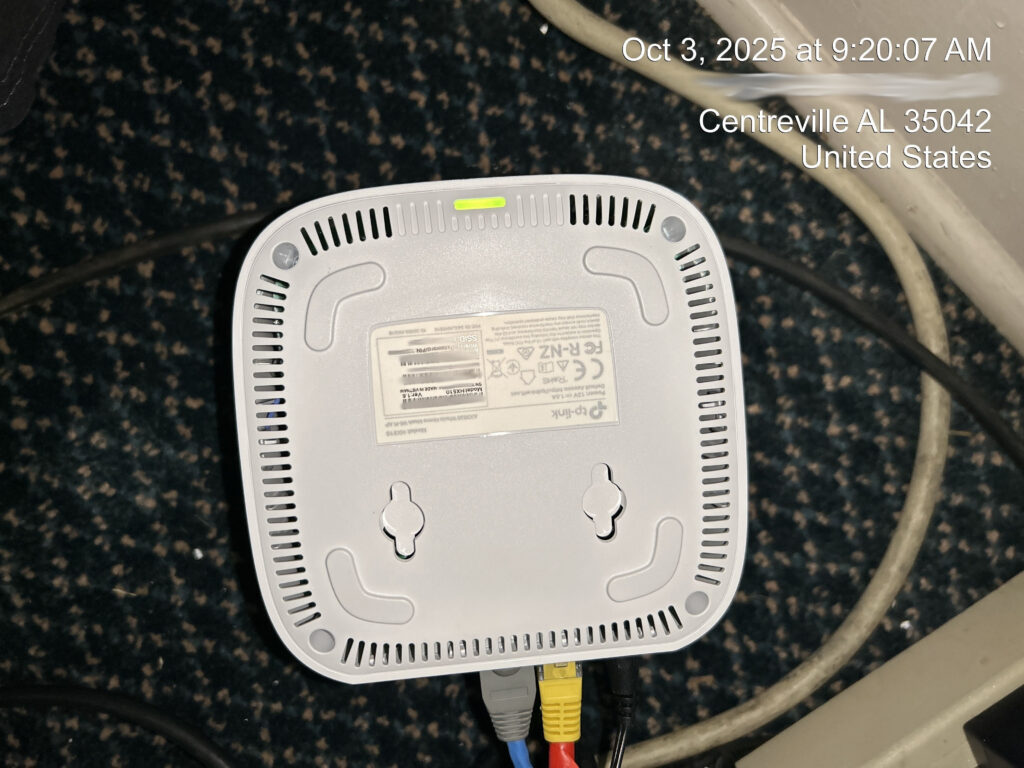
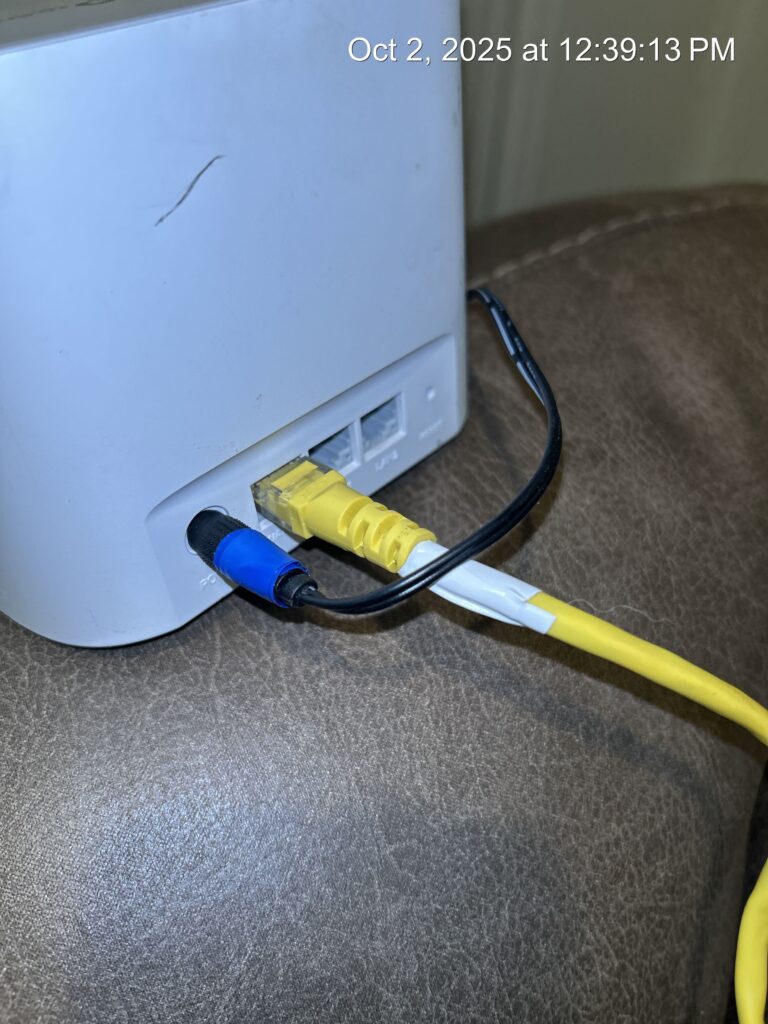
Back Of Router
Ensure the MAC address, Serial Number, and other unique values clearly visible. (They’re purposely blurred in this example.) Allows remote technicians to properly identify customer unit and describe what it looks like to customer on phone if needed.
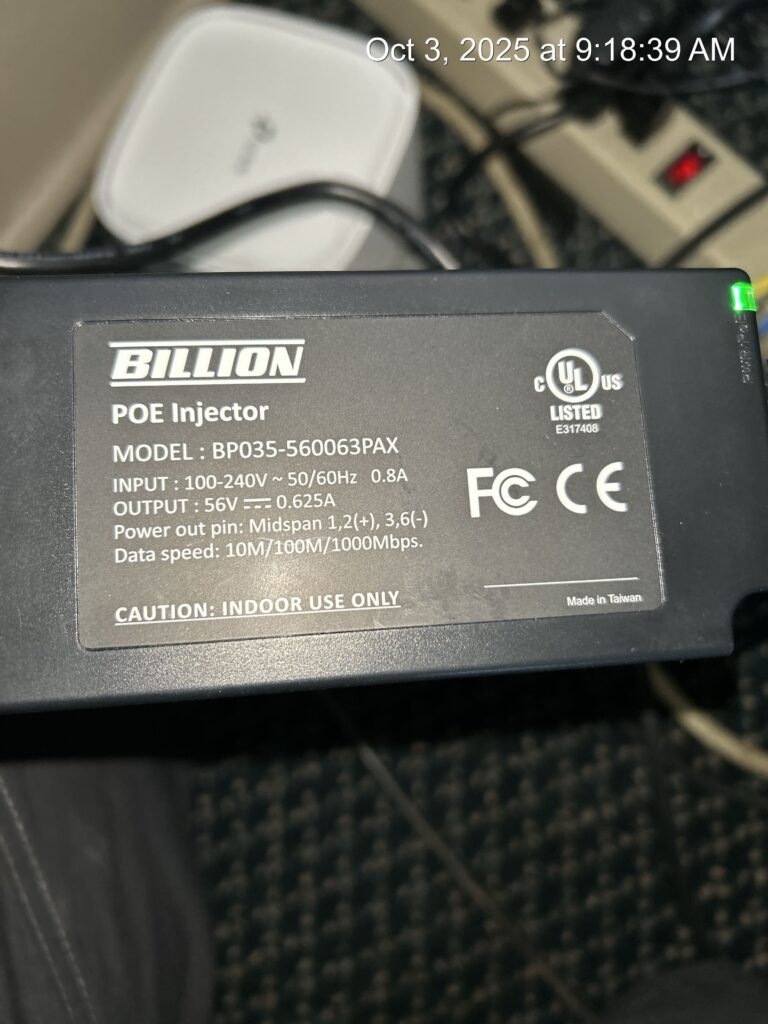
POE Injector
Ensure the voltage and model number info are clearly visible. Makes it easier if you need to do an unattended outdoor unit swap later – you’ll know what power you’re working with. Also allows remote technician to easily describe it to a customer if needed.
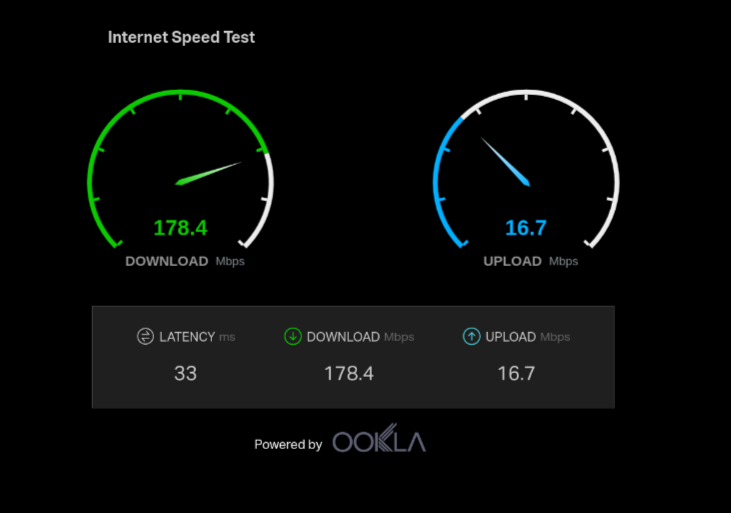
Speedtest
Document what speeds were at the time of install.
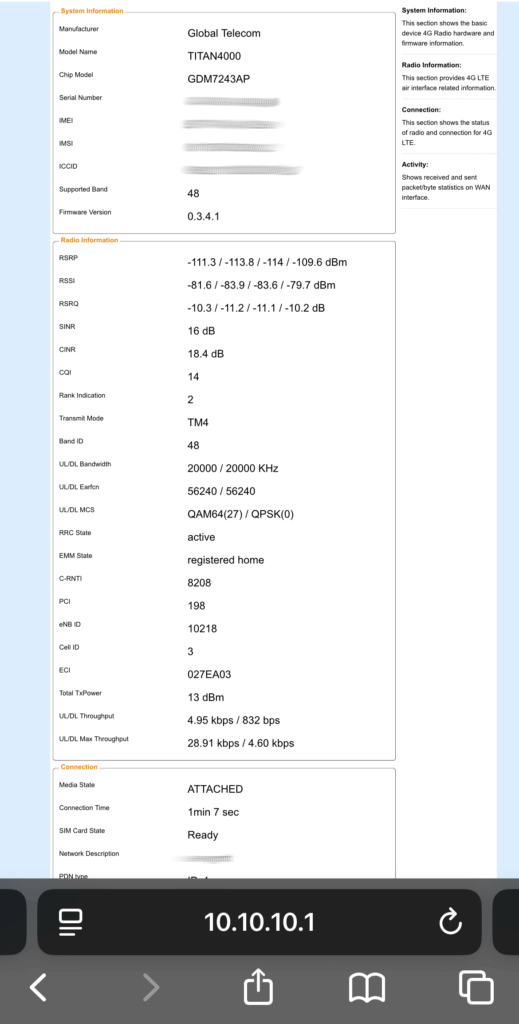
Signal Parameters
Document what the signal parameters were at time of install. Make sure SINR, RSRP, and RSSI are fully visible. Also make sure you capture the IMSI number.
In addition to documenting with photos, we also recommend using colored marking tape on the wires the customer might interact with. This enables your remote support technicians to walk a customer through safely rebooting things – reducing the risk of cables getting flipped or the wrong thing being unplugged.
- We use RED tape on the ethernet cable going to the outdoor UE/CPE.
- We use WHITE tape on the ethernet cable going between the POE injector and customer router.
- We use BLUE tape on the power cords for the router and POE injector.

NOTE FROM AUTHOR: This is our initial “flag in the sand” move to standardize how installs are documented within the WISP industry. Ideas for improvement and refinement are welcome! Drop us a comment or email me – josh@theedgemile.com – with ideas on additional photos or data that you think should be captured at install time.
[…] my article “Documenting the Edge: Photos You Need From Every Install,” I outline the essential photos you need in your CRM to streamline future service calls. […]